PLEASE REBLOG AND ADD ANY OTHERS YOU MIGHT KNOW OF ❤ ❤
WOOKIEEPEDIA. The source of anything and everything you want to know related to Star Wars. Good for fact-checking, character history, or simply killing time. There is also, of course, the official Star Wars Databank!
TIMELINE. While hosted on Wookieepedia, this is nevertheless deserving of its own bullet point. This page provides an approximate timeline with dates of all canon material. You can also filter items, so that it displays only TV episodes, for example, or only books, or only movies! Find the Legends timeline here.
STAR WARS SLANG AND PHRASES. A collection I’ve been keeping of phases, slang, idioms, insults, and more from the Star Wars universe. This also contains a glossary of frequently used terms, such as “refresher” in place of “restroom”. Please feel free to use/share!
STAR WARS NAME GENERATOR. This is a fun one AND a life saver. You can generate up to 100 Star Wars-sounding names ( first and last! ) with a click.
Hello there, I’m happy that you trust me and my skills so much that you’d actually ask for advice. It is not bothering it is a great compliment, but also quite a difficult task, because I wish to give you advice that are useful rather than make your life more difficult. I hope what you’re asking is also about the digital painting medium, because that’s the format that I currently use. What I say here doesn’t help if you’re using an actual paper, and you should keep in mind that this might be the wrong way to go about it anyways. 😀
I’m self taught in digital art, and I started teaching it to myself when Youtube did not exist yet and there weren’t tutorials online. Actually the whole internet was still a new thing… 😀 I do almost everything in a strange way / order. This works for me, but I recommend finding your own way to do it and looking for tutorials that support your own artistic methods.
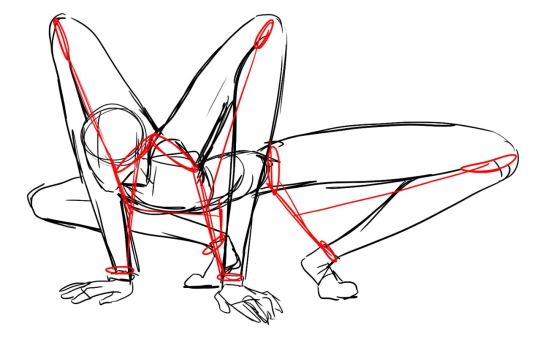
I personally am not that good at drawing outlines and sketches, I’m actually very clumsy at it. I see the image forming out of a gray with lights and shadows that bring the shapes out. That’s why the outlines are often the last thing that I draw.
For curiosity’s sake. This is a random face example of style the that I would use in my comic. It’s really stupid don’t do this.
I start with a gray rough shape.(1)
Then I use the brush tool in low opacity to paint darker gray on the areas that will be in shadow. (2)
I do the same thing for lighter areas with a lighter color. The low opacity on the brush is the key and the color builds up already leaving nice gradients. (3)
But I don’t like these rough gradients so I smudge them away with a smudge tool. 😀 At this point I usually start adding some outlines. (4)
With the help of these outlines I get the idea where I need more details in shading and highlights. (5)
(6) This part is probably shading at its best. I take a huge burn tool and start to darken everything in with very soft setting (use only with black and white pictures). I repeat the same with the dodge tool lightening some parts of the picture. I think this is an important part in my art in making everything smooth and more realistic. It is very visible in below the hairline for example.
I’m not sure if this is helpful at all, but that’s the way I do most of this. 🙂
If you ever post your art somewhere I definitely would love to see it.
Outlining a story is very, very important. Without an outline and thorough planning, your story will veer off in wildly different directions and will cost you a ton of time editing later, like my book did.
1. Get the characters down first
Characters are like the chess pieces of the story. Their moves and strengths/weaknesses will decide what is going to happen and how it will happen. Sure, you can have a nice plot and setting, but without the characters, the story is meaningless.
Here is the character chart that I usually use:
Name (First/Middle/Last/Maiden name)
Aliases/Nicknames
Age
Race
Gender
Sexuality
Height
Weight
Eye color
Hair color
Clothing style
Religion
Political views
Personality Traits
Strengths and Weaknesses
Likes and Dislikes
Family
Friends
Enemies
Role in the story
Backstory/past
2. Choose a template
Just bulleting the events does not give the plot the dimension that it deserves and does not really accommodate side plots.
I personally use the zigzag method that I discovered fromthis post.I branch off of the zigzags for my side plots so it looks kind of like a graph.
You can also use the subway method, which I found on the nanowrimo website.
There are a whole other host of outlines to choose from if you search them up!
3. Know that you don’t have to stick to it
An outline is just that: an outline. It’s not the final decision for the plot, it’s the first draft for the plot. If you’re writing and one of the points just isn’t working anymore, you don’t have to keep it because it was a part of your outline.
If anyone wants to make themselves some clone boots, this is the pattern I drafted to make mine! It might require some fiddling if you’ve got a bigger or smaller shoe, but if you just don’t know where to start feel free to print this out and give it a try!
It’s drawn on an 8.5″ x 11″ piece of graph paper, so it should be just fine if it’s printed as a full page. 🙂